This is a deep dive into Perfect Bound and Saddle Stitch. For a full overview of all 10 types of book binding, read our complete guide here.
Choosing between Perfect Bound and Saddle Stitch binding can make or break your self-published book’s success. This definitive guide gives you the clear comparisons and expert insights needed to select the right option based on page count, budget, and durability. Avoid costly mistakes and print your book with confidence.
Perfect Bound book binding provides a durable, glued spine suitable for thicker publications (>64 pages) needing a professional appearance and shelf presence. Saddle Stitch binding uses staples, is cost-effective for thinner booklets (<64 pages), and allows pages to lay flatter. Choose based on page count, durability needs, and budget.
Ultimately, selecting the best book binding requires balancing page count, budget, durability, desired look, and your specific project goals. Read on for detailed cost insights for self-publishers, critical design tips for both Perfect Bound and Saddle Stitch (including how to handle ‘creep’), and expert recommendations for different book types.
Understanding the Basics: Perfect Binding and Saddle Stitching

Before comparing Perfect Bound vs. Saddle Stitch, let’s briefly define each method. Understanding the process helps visualize your final book.
Perfect Binding Explained: The Professional Standard
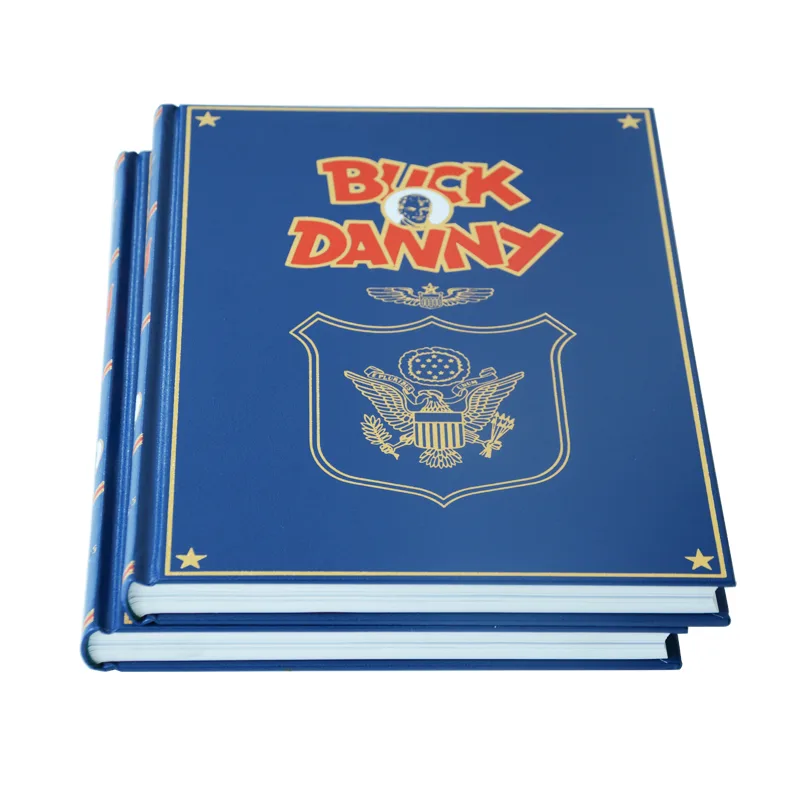
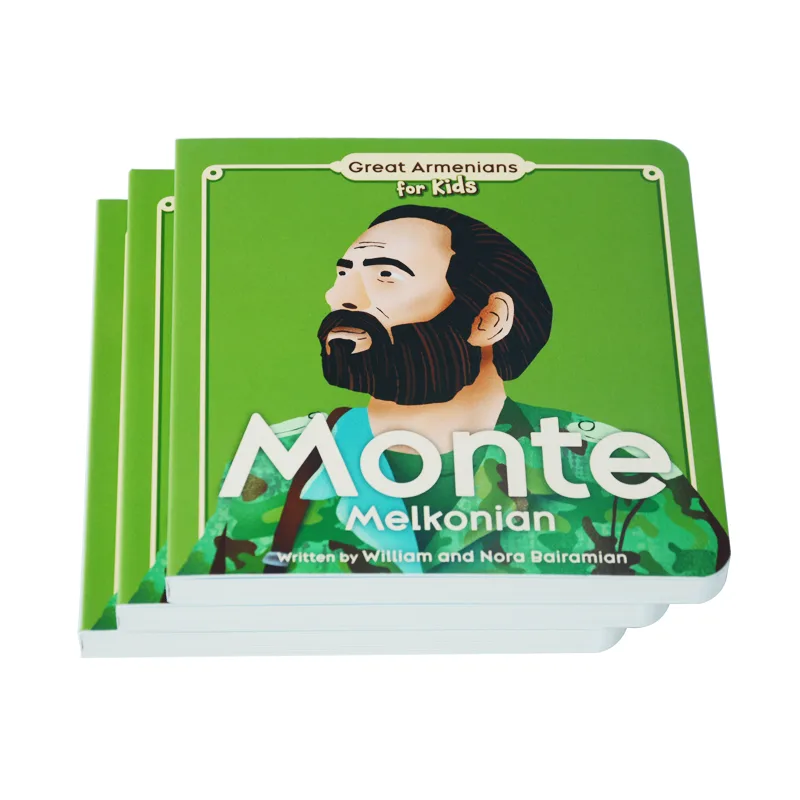
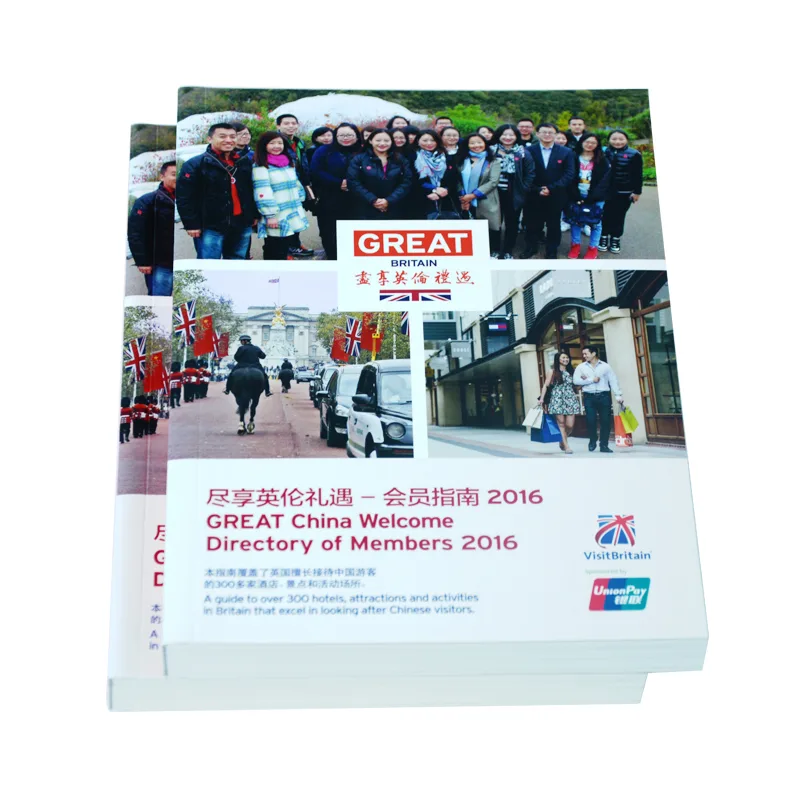
Perfect binding is the method used for most paperback books. Pages are stacked, the spine edge is glued with strong adhesive, and a cover wraps around it, forming one of the most common types of book binding. The three open sides are trimmed for a clean, square finish with a flat, printable spine – essential for shelf visibility.
Common Uses: Novels, trade paperbacks, thicker magazines/journals, catalogs, manuals, photo books.
Saddle Stitching Explained: The Efficient Choice for Slimmer Volumes
Saddle stitching involves folding sheets of paper, nesting them, and securing them through the center fold with wire staples (usually 2-3). This creates a booklet or magazine look with visible staples on the fold. A key benefit is that these publications lay relatively flat when opened.
Common Uses: Magazines, brochures, booklets, programs, zines, thin comic books, calendars.
Head-to-Head: Perfect Bound vs. Saddle Stitch Comparison
Seeing the methods side-by-side clarifies the best fit for your project. Here’s a direct comparison focusing on factors critical to self-publishers:
Key Differences at a Glance
Ready to Explore Your Options?
Whether perfect bound or saddle stitch is right for you, our team provides expert guidance and a full range of high-quality printing solutions.
Making the Right Choice for Your Self-Published Book

Choosing between Perfect Bound vs. Saddle Stitch involves weighing these factors against your project’s specific goals. Let’s delve deeper into the decision-making process.
Key Factors Influencing Your Decision
Consider these points carefully to guide your choice:
Factor 1: Page Count – The First Filter
As the table shows, page count is usually the starting point. Under 64 pages (and a multiple of 4)? Saddle stitch is possible. Over 100 pages? Perfect bound is likely required. The 64-100 page zone needs careful thought on other factors.
Factor 2: Budget & Print Run Size – Balancing Cost and Value
Your budget and print quantity are crucial. Saddle stitch’s low setup cost makes it unbeatable for tiny runs (<150) – great for testing or limited editions. Perfect binding’s setup cost is higher, but the per-book price becomes more competitive as quantities increase (200+).
Always get quotes for your specific quantity to compare the total cost accurately, and consider these 10 tips to reduce your book printing costs.
Factor 3: Durability & Intended Lifespan – Built to Last or Short-Term Use?
How long does the physical book need to endure? Novels, reference books, or keepsakes benefit greatly from perfect binding’s robust glued spine. For materials with a shorter lifespan like event programs or promotional brochures, saddle stitch durability is often sufficient.
Factor 4: Aesthetics & Professionalism – First Impressions Matter

Does your book need to look authoritative on a shelf or mimic traditionally published books? The printable, square spine of perfect binding provides that professional finish. If an informal, indie, or zine-like aesthetic fits your content and audience, saddle stitch can be an intentional and appropriate choice.
Factor 5: Genre & Content Type – Matching Form to Function
The nature of your content guides the best binding:
- Novels (100+ pages): Perfect bound is standard (durability, look, page count).
- Photo/Art Books: Perfect bound for thick volumes. Saddle stitch (if pages allow) or specialized lay-flat options prioritize flat viewing for thinner books.
- Poetry Collections: Either works. Perfect bound for a traditional feel; saddle stitch for shorter chapbooks (<64 pages) or an indie vibe.
- Zines/Magazines/Thin Comics: Saddle stitch is the cost-effective industry norm.
- Manuals/Workbooks: Saddle stitch’s lay-flat quality is often preferred if page count permits.
Critical Design Considerations: Setting Up Your Files Correctly
Learning how to prepare your book files for printing is non-negotiable for a quality result, regardless of binding choice.
Perfect Binding File Prep:
- Spine Calculation: Essential. Get the exact spine width from your printer based on your final page count and paper choice.
- Cover Design: Create a single file including the back cover, calculated spine, and front cover, with appropriate bleed.
- Gutter Margin: Leave extra space (e.g., 0.75″+) on the inner edge of your pages, as the binding doesn’t allow the book to open completely flat near the spine.
Saddle Stitch File Prep:
- Page Creep: This is vital. Inner pages get pushed out slightly and are trimmed narrower than outer pages. This effect increases with more pages/thicker paper. You MUST account for this.
- Managing Creep: Avoid placing crucial elements (page numbers, borders) near the outer edge, especially on inner pages. Consult your printer – they might offer adjustments (‘shingling’), but designing with safe margins is recommended.
- Page Setup: Usually submit as single pages, but confirm with your printer. Include bleed on all outer edges.
Expert Insights & Printing Realities
Leveraging industry knowledge can significantly clarify your binding choice.
Advice from the Bindery Floor
Don’t hesitate to lean on your printer’s expertise. As printing industry veteran Stuart Slater emphasizes, view them as partners:
“When you have different alternatives… the best thing to do is to work with a print vendor… Good print vendors today are partners… working together to solve potential problems or obstacles is really what it is all about.”
Discuss your goals and concerns – experienced printers can offer invaluable advice tailored to your project.
Insider Knowledge for Authors
Consider these finer points:
- Glue Matters (Perfect Binding): Standard EVA hot melt is common. PUR glue offers well-documented advantages in strength and flexibility, leading to better lay-flat ability and durability, especially useful for coated papers or varying temperatures, though it may cost slightly more and take longer to cure. Ask your printer about options.
- Printer Capabilities & Minimums: Not all printers excel at both bindings equally. High-quality perfect binding often requires specialized equipment found at dedicated book printers, who might have higher minimum order quantities (MOQs) than smaller shops focused on saddle stitch. Verify capabilities match your needs.
- Emerging Options: Briefly, ask your printer about Square-Back Saddle Stitching (mimics a flat spine visually) or Lay-Flat Perfect Binding (uses special glues for fully flat opening) if your project has specific aesthetic or functional needs beyond the standard options.
Common Self-Publishing Scenarios & Solutions

Let’s see how this applies to typical projects:
Scenario 1: Binding the 200-Page Novel
Perfect binding is the clear choice due to page count, the need for durability for reading/re-reading, and the professional appearance expected of a novel (including a printable spine). Consideration: Discuss paper weight with your printer to ensure the spine isn’t excessively thick.
Scenario 2: The Premium Photo Book on a Budget
If page count is low (<64 pages), saddle stitching can work with smart design: use a heavy cover stock (e.g., 300gsm) for a quality feel, design layouts carefully around the center fold, and perhaps add external elements like a belly band or slipcase to enhance perceived value.
Scenario 3: The Poetry Chapbook or Art Zine
Saddle stitching often perfectly suits these formats (typically <48 pages). It’s cost-effective for small runs, aligns with the intimate/indie aesthetic, and the lay-flat quality benefits poetry layouts and art spreads. It’s often a deliberate, fitting choice.
Final Steps: Locking in Your Binding Choice
You’re almost ready! Before placing your print order, take these final steps.
Your Pre-Order Checklist
- [ ] Final Page Count Confirmed?: (Multiple of 4 for Saddle Stitch?)
- [ ] Print Run Quantity Decided?:
- [ ] Budget Finalized (including setup/shipping)?:
- [ ] Binding Method Chosen?:
- [ ] Files Prepped Correctly (Spine/Creep/Gutter/Bleed)?:
- [ ] Printer Selected & Quote Understood?:
Don’t Skip the Proof! The Value of a Physical Sample
Especially for a first run, insist on a physical proof. It lets you check paper feel, color accuracy, binding quality, spine alignment (perfect bound), and creep effect (saddle stitch) – essentially validating all aspects covered in different types of printing proofs – before committing to hundreds or thousands of copies. Catching errors here saves significant cost and disappointment.
Collaborate With Your Printer: Your Most Valuable Resource
Maintain open communication. Ask final questions about paper, glue, creep compensation, or turnaround times. Experienced printers like Mainland Printing work with self-publishers daily and can provide crucial final guidance. Clear communication ensures your vision is accurately produced.
Conclusion: Binding Your Vision into Reality
Choosing between Perfect Bound vs. Saddle Stitch boils down to matching the method to your book’s specific needs – balancing page count, budget, durability, aesthetics, and purpose.
Understanding these differences empowers you to select the binding that best presents your work and enhances the reader’s experience. Making the right choice is a critical step in successfully bringing your self-published book to life, whether Perfect Bound or Saddle Stitch.