When your cover spread looks finished but page count or paper still moves, a “print-ready” upload can lock the wrong spine and force a rewrite. You can still gate spine size, bleed, and proof type before you approve production files.
A paperback book printing file checklist locks page count and paper before spine width, builds one cover spread with bleed and safe zones, splits what you send versus what pre-press confirms, and matches digital proofs to physical samples before you release the run.
You’ll be able to refuse a guessed spine and know which proof can clear layout versus which one must clear feel—so the next upload is something you can gate yourself.
Confirm Page Count and Paper Before You Size the Spine

When you size the spine from an old POD template while interior paper is still open, you are designing a book that does not exist yet.
Spine width follows final page count and the real text stock—not a round number you hope is “close enough.” Hold the cover spread’s spine panel until those two inputs are frozen with the plant.
| Spine input on your desk | Ready or Hold |
|---|---|
| Final page count named (including blanks/ends) | Ready — plant can compute spine from the same count you will print |
| Interior paper gsm/class locked on the quote | Ready — spine follows that stock’s bulk, not a generic calculator guess |
| Page count or paper still “about” / TBD | Hold — do not finalize spine type or cover export |
| Cover art done, but stock may switch for show-through | Hold — wait for the softcover interior paper lock first |
When you once exported a cover with a guessed spine because marketing wanted mockups that week, the real stock added almost 2 mm and the title sat off-center on the first physical proof.Freeze page count and paper on the same RFQ line, then ask the plant for the spine width to place—never invent a universal millimeter table.
If you only change endpapers or add a two-page insert after the cover is built, treat that as a new page count. Re-request spine width before you re-export. A “small add” is still a new wrap when the knife and binder see a thicker block.
If binding glue is still open, keep that path visible with your EVA vs PUR binding choice so milling and wrap assumptions stay consistent with the file you upload.
Build One Cover Spread With Bleed and Safe Zones
When your front, spine, and back live as three separate artboards, the printer still has to rebuild a single wrap—and small gaps show up as white flashes or off-center spines.
Build one flat cover spread: back + spine + front, with bleed past trim and critical type inside the safe zone. Industry notes on book manufacturing standards exist because knives never land on a perfect pixel.
- Confirm trim size matches the interior PDF page size.
- Place the plant-confirmed spine width as a center panel—not a design guess.
- Extend background art into the bleed (commonly 0.125 in / 3 mm unless the plant states otherwise).
- Keep logos and spine text inside the safe zone away from trim and scores.
- Export one print-ready PDF with fonts embedded and images at print resolution.
| Cover file field | Write this |
|---|---|
| Layout | Single spread: back + spine + front |
| Bleed | Named value from the plant template—not “a little extra” |
| Spine width source | Plant calculation after paper + pages locked |
| Finish note | Gloss / matte / soft-touch + flaps yes/no (see paperback cover options) |
Red flags before you upload: spine text that sits on a guessed width, backgrounds that stop at trim, or barcode/price blocks pushed into the bleed. Fix those on the file—not after cartons ship.
When flaps are part of the wrap, score lines and flap width belong on the same spread as the spine panel. Do not attach flap art as an afterthought email; rebuild the single file so pre-press measures one geometry.
Export RGB screen comps only for internal review. The upload the plant prints from should be the print-ready PDF they named—same trim, same bleed, same spine—so you are not comparing two different covers in the same thread.
Split Buyer and Pre-Press File Responsibilities
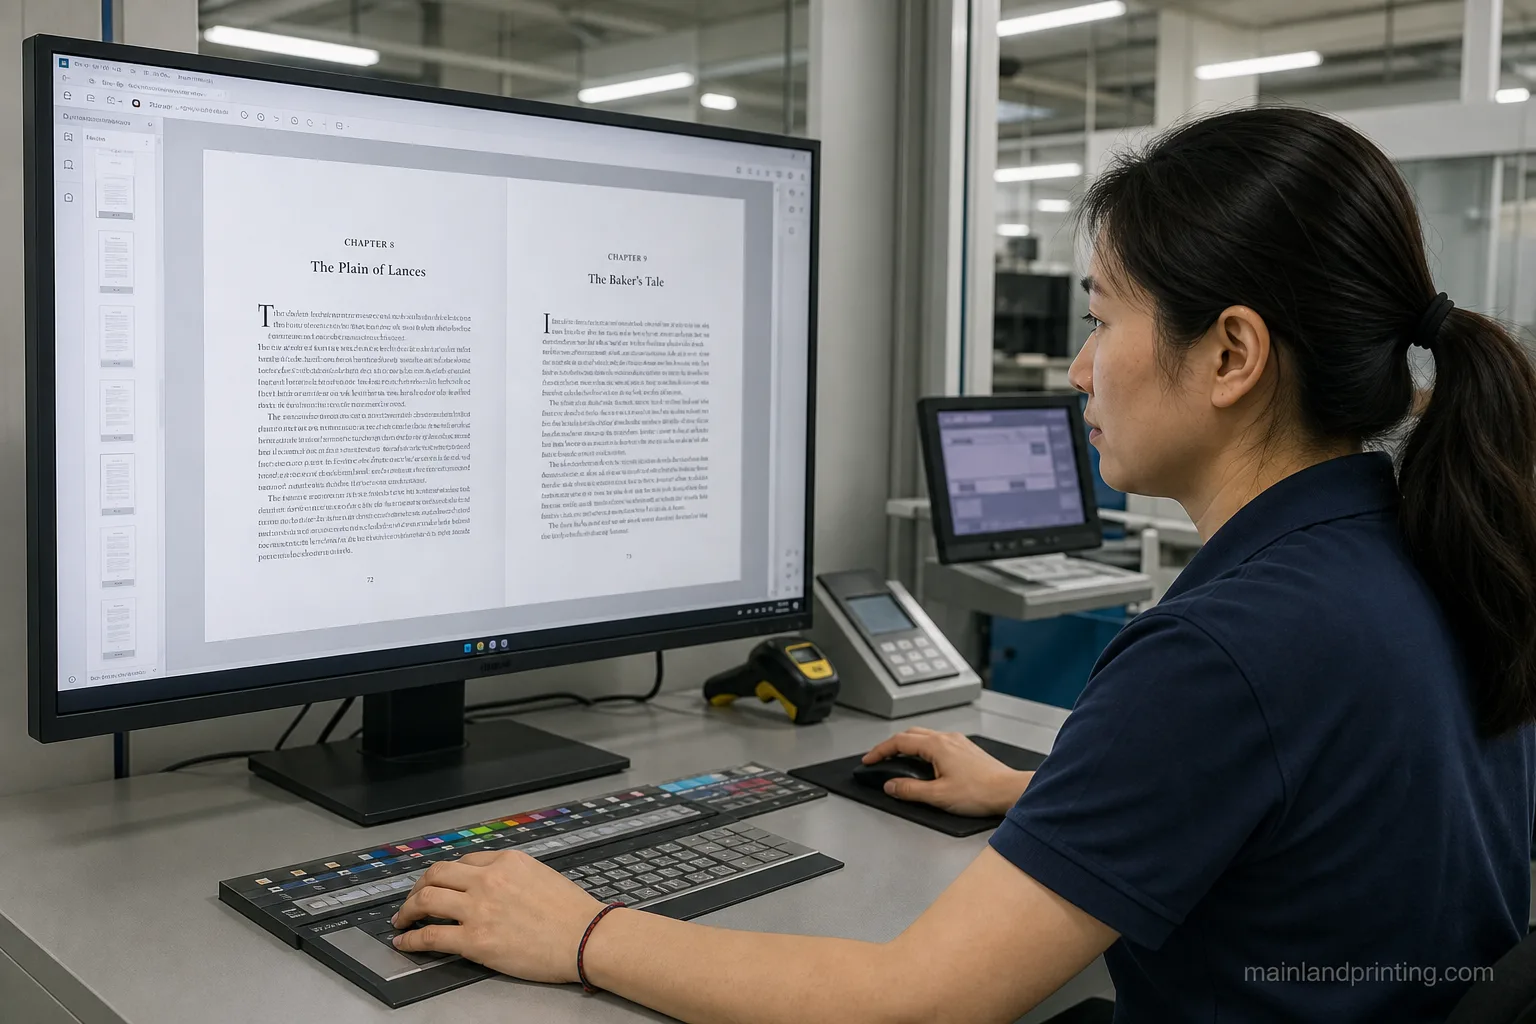
When everyone assumes “the other side will catch it,” page order and color mode fall through. Put names on the fields.
| File task | Who owns it |
|---|---|
| Final page count, trim, color mode | You — write them on the RFQ and keep interior PDF matched |
| Interior paper class / gsm | You lock with sales; plant confirms availability and bulk for spine |
| Spine width number on the template | Plant — after your page count and paper are frozen |
| Cover spread art, fonts, barcode placement | You (or your designer) on the plant template |
| Preflight: fonts embedded, page order, bleed presence | Plant pre-press — return a written exception list, not a vague “OK” |
- Do not ask the plant to invent your page count from a draft manuscript.
- Do not invent spine width while paper is still TBD.
- Do require a written preflight note before you treat the upload as approved.
Prepress file checks are a manufacturing step—not a courtesy. Route the clean pack through softcover book printing so sales sees one project with matching files.
When you once sent “final” interiors while the designer still swapped chapter openers overnight, pre-press cleared an obsolete PDF and the bound sample showed the wrong order. Timestamp the file name with page count and paper code so both sides open the same revision.
Request a Paperback Pre-Press Review
Send locked page count, paper class, and cover-spread intent so pre-press can return spine width and a written exception list.
Know What Digital Proofs vs Physical Samples Can Confirm
When you treat a soft proof like a bound book, you approve layout you never held. Split what each proof type can clear.
| Proof type | What you can confirm |
|---|---|
| Digital / soft proof | Page order, type placement, spine text position, obvious missing bleed, barcode presence |
| Physical sample / hard proof | Hand-feel, wrap stiffness, lamination rub, flap scores, how the book opens at the hinge |
| Digital only on a first offset education run | Risky — color and bulk can still surprise you; budget a physical check when wear matters |
When a team signed a soft proof and skipped the bound sample to “save a week,” the soft-touch film scuffed in the first carton review—an issue no PDF would show. Use digital to clear geometry; use physical when finish and handling risk sit on the P&L.
Digital proofs also miss how thick the book feels in the hand after your chosen cover weight. If classroom bags and restocking are part of the brief, budget the physical sample as a decision tool—not as optional decoration.
If cover finish is still floating, settle it with the cover options path before you pay for a physical that tests the wrong film. Keep budget context on paperback printing cost so proof fees stay on the same sheet as the run.
Run a Pre-Proof Gate Before You Approve Production
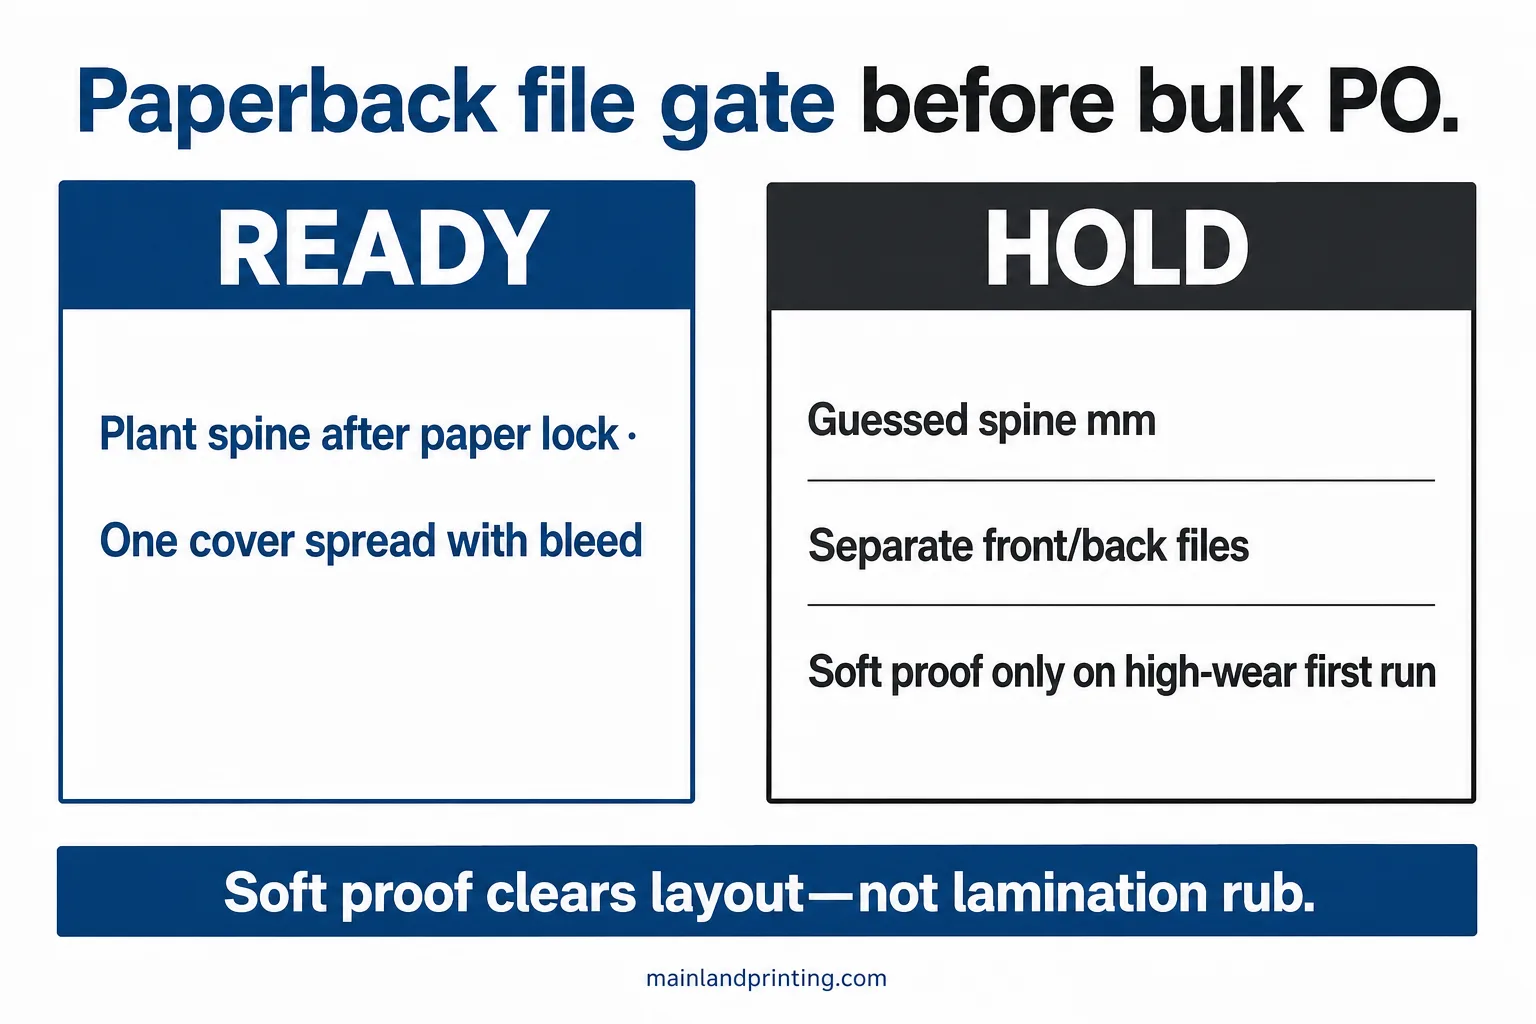
When the upload folder looks complete, run one short gate before you release the bulk PO.
| Check | Ready | Hold |
|---|---|---|
| Spine source | Width from plant after paper + pages locked | Guessed mm or old POD template |
| Cover geometry | One spread; bleed present; type in safe zone | Separate panels or art ending at trim |
| Interior PDF | Single pages, correct trim, fonts embedded, page order verified | Spreads exported as reader spreads, or missing blanks |
| Proof plan | Digital clears layout; physical booked if finish/wear matters | “PDF only” on a high-wear first offset title |
- Match interior page count to the spine calculation email.
- Open the cover PDF at 100% and check spine text centering.
- Flip the digital interior for page order and blank pages.
- Confirm pre-press returned a written exception list—or “no exceptions.”
- Only then mark files Ready for production.
When a preflight note flagged missing bleed on the back panel and you still clicked approve, the reprint cost landed on the same launch week you tried to protect. Treat Hold as cheaper than a second cover plate.
Watch-out: a green checkmark in a file-sharing folder is not a preflight report. You need the plant’s written exception list—or an explicit “no exceptions”—tied to the same filename you will print.
Lock Your Paperback Files for Pre-Press Review
You now have a file path that freezes paper and pages before spine width, builds one bled cover spread, names who owns each field, and matches proof type to what you actually need to see.
Approving production on that pack means you are not gambling on a guessed millimeter or a soft proof that cannot feel lamination. You are releasing cash against files the plant can preflight in writing.
Send the locked count, paper class, and cover-spread PDF with your softcover planner. If any Ready line flips to Hold, fix that one variable and re-upload—then let the paperback move.