This is a deep dive into font embedding and glyph errors. For our complete guide on all file preparation steps, please read our Ultimate File Prep Guide here.
Frustrated by font embedding failures or weird characters halting your book printing? This definitive guide provides actionable font issue troubleshooting steps. Learn exactly how to fix common PDF font problems and print your book with confidence.
To fix book printing font issues like embedding failures or glyph variations, first verify font licenses allow embedding. Then, configure PDF export settings correctly using PDF/X standards, ensuring fonts are embedded and subsetted. Address glyph problems by using quality fonts (consider TTF over problematic OTF), checking character support, and validating the final PDF’s font status before printing.
Ready to dive into the exact step-by-step fixes, expert warnings on common pitfalls (like KDP auto-fixes!), and practical checklists to guarantee your book prints perfectly every time?
Common Causes of Font Failures in Print Files
Why do fonts, which seem so straightforward, cause such complex problems in the journey to print? Understanding the root causes is key to effective troubleshooting.
Why Won’t My Fonts Embed? Unpacking Embedding Failures
Your PDF looks fine to you, but it gets flagged for missing fonts. Here’s a breakdown of likely reasons:
- Font Licensing – The Hidden Gatekeeper: Check the font’s EULA (End User License Agreement) first. Many free fonts legally restrict embedding in PDFs for commercial printing. Ignoring this can cause embedding to fail and carries legal risks. Always verify permissions, and understanding basic font licensing terms related to embedding is crucial.
- Incorrect PDF Export Settings – An Easy-to-Overlook Detail: Using the wrong PDF preset (e.g., choosing one for screen/web instead of a print-ready standard like PDF/X) or forgetting to enable the “Embed All Fonts” option during export will prevent fonts from being included correctly.
- Font File Glitches – Corruption & Metadata Issues: The font file itself might be corrupted from download/installation or contain flawed technical data (metadata), like missing Vendor IDs. This can block embedding even with the right settings, and related error messages might sometimes be misleading about the true cause.
What Are These Weird Characters? Decoding Glyph Variations
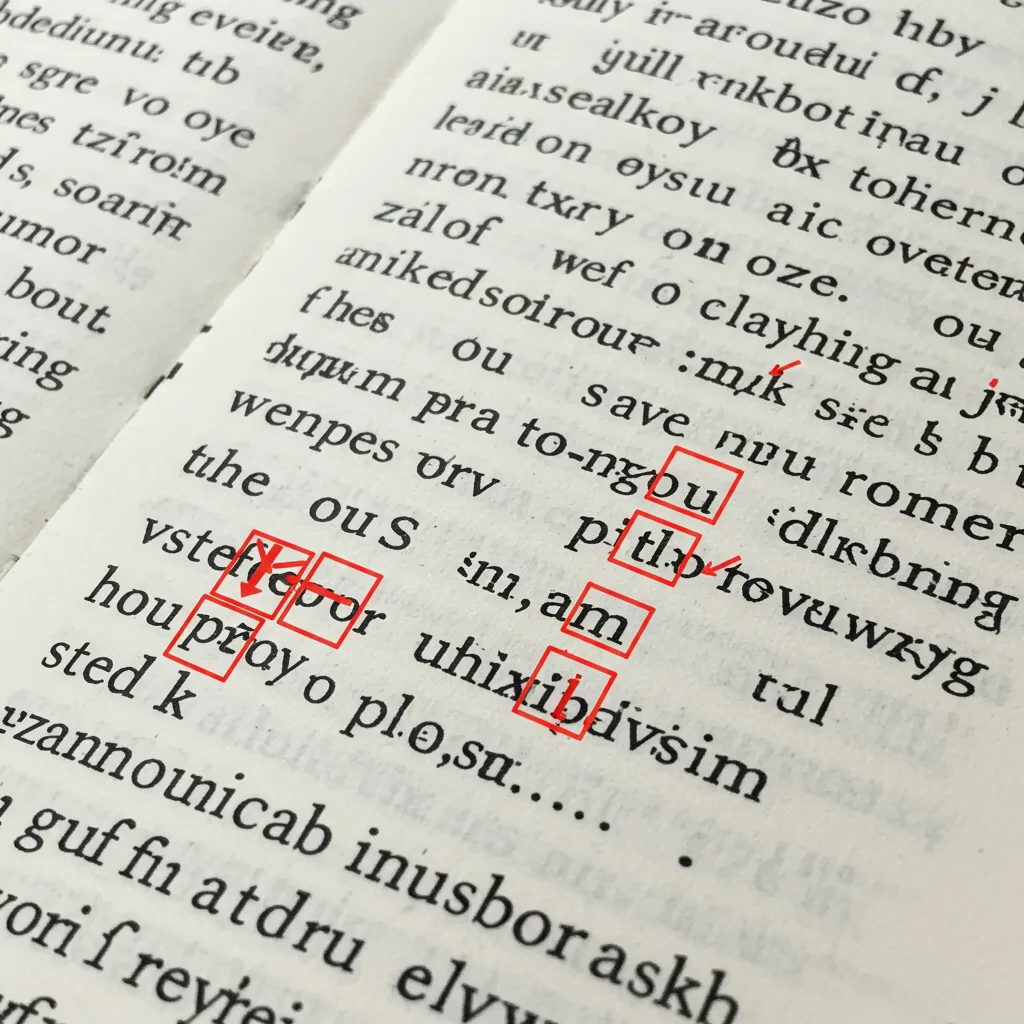
Even if fonts embed, sometimes individual characters render incorrectly. Why?
- The Font Just Doesn’t Have That Character: The most common cause of empty squares (‘tofu’) is straightforward: the selected font lacks a design (glyph) for the specific character you typed. This frequently occurs with specialized symbols (©, ®, mathematical operators), letters with accents or diacritics used in various languages, or entire non-Latin scripts. Always verify that your chosen font has the necessary character set coverage for your content. The difference can be vast; comparing Lato versions showed one had 275 glyphs while the updated one offered over 3,000.
- OpenType Features Gone Wild: Modern OpenType fonts offer sophisticated typographic features like automatic ligatures (e.g., ‘f’ and ‘i’ becoming ‘fi’), alternate character forms, swashes, etc. While enhancing appearance, these features can sometimes be misinterpreted by older PDF viewers, specific software, or the printer’s RIP (Raster Image Processor), leading to unexpected character substitutions or visual glitches.
- Font Quality or Format Issues: Low-quality or poorly constructed fonts may contain flawed outlines that only manifest as errors during high-resolution printing. Additionally, the font’s underlying format matters. While OTF (OpenType) is a modern standard, it can contain outlines based on older PostScript technology (CFF) or TrueType technology. TTF (TrueType Font) files inherently use TrueType outlines.
Step-by-Step Fixes: Your Action Plan for Flawless Fonts
Armed with understanding, let’s tackle the fixes. Here are practical steps for resolving common font issues.
Solution Path 1: Conquering Font Embedding Failures
Step 1: Investigate the Font License – Your First Checkpoint
Before anything else, confirm embedding permission. Look for the EULA text file, check the download site or foundry website, or inspect font properties on your system (seeking “Installable” or “Editable” status). As font expert Thomas Phinney stresses, the EULA is the definitive guide. If embedding is restricted, you must select an alternative font. Consider reliable font sources as an investment against lost time.
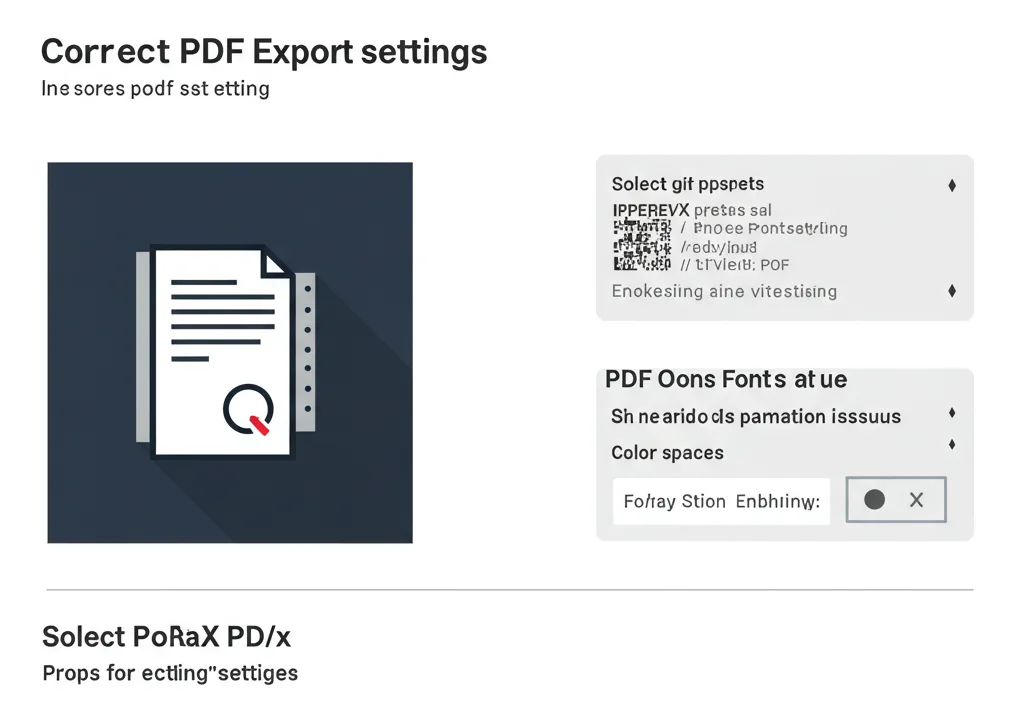
Step 2: Nail Your PDF Export Settings – The Critical Step
Correct settings are vital. Before exporting, experts like David Blatner recommend using your software’s tools (like InDesign’s Type > Find/Replace Font) to spot problems. Then, during PDF creation:
- In Word: Use File > Save As or Export -> PDF. Find “Options” and ensure “Embed fonts” is checked. Choose quality-oriented presets if available.
- In InDesign: Use File > Export -> Adobe PDF (Print). Select a PDF/X-4 (supports transparency, modern) or PDF/X-1a (flattens transparency, converts to CMYK, very reliable) preset. Consult your printer if they have a preference. In the Advanced tab, verify Subset fonts… is set to 100%.
Step 3: Refresh Your Fonts – Reinstall & Organize
Font file corruption or system cache issues can cause problems. If a specific font consistently fails, try closing your applications, properly uninstalling the font, restarting your computer, and reinstalling from a clean, trusted source file. This often clears up temporary glitches. Using a font manager can also help prevent conflicts.
Step 4: The Nuclear Option – Convert Text to Outlines (Handle with Care!)
This converts text to vector shapes, guaranteeing display but it’s generally a bad idea for book text. Use only as a last resort for isolated elements like a logo. Why avoid it? Text becomes uneditable, non-searchable, significantly increases file size, and can make small or fine text appear blurry or thick when printed.
Solution Path 2: Banishing Bad Glyphs & Display Errors
Step 1: Verify Font Source & Completeness
Always use fonts from reputable vendors. Ensure you’ve installed the complete family if using multiple styles (e.g., Bold needs the actual Bold font file).
Step 2: Manage Advanced OpenType Features
If getting odd character substitutions, explore options in your software (like InDesign’s Character or OpenType panels) to disable features like Ligatures or Contextual Alternates for the problematic text.
Step 3: Confirm Character / Language Support
Does the font actually contain that Euro symbol (€) or specific accented ‘é’? Use system tools like Character Map (Windows) or Font Book (Mac) to visually inspect the font’s available glyphs. If key characters are missing, you need a font with broader character support, ensuring compatibility with the Unicode Standard for consistent encoding across platforms.
Step 4: Experiment with Font Format (TTF vs OTF)
If an OTF font consistently causes rendering problems in your PDF, try installing and applying its TTF version (if available from the same foundry). This often resolves compatibility issues, particularly with non-Adobe software or certain print environments. Just proofread carefully afterward, as minor visual differences might occur.
Prevention is Key: Best Practices for Trouble-Free Typography
Fixing problems is good; preventing them is better. Use paragraph and character styles consistently; minimize local font overrides – understanding basic Typography in Book Design principles like this ensures consistency and makes global changes much easier. Adopt these habits for smoother projects:
Smart Font Selection Strategies
- License Clarity: Choose fonts explicitly allowing print/PDF embedding before designing.
- Quality & Completeness: Prefer well-made fonts from known foundries or trusted open-source projects (ensure they have all needed characters/languages).
- Print Legibility: Ensure body fonts are comfortable for sustained reading on paper.
Implementing a Simple Font Workflow
- Curate: Keep a short list of reliable “go-to” fonts you know work well.
- Standardize: Especially for small teams, using consistent font choices and versions across projects drastically reduces troubleshooting time.
- Organize: Consider a font manager (even free ones like FontBase) to avoid clutter and conflicts.
Designing with Print in Mind
- Use Styles: Define and apply paragraph/character styles consistently. Avoid manual overrides. Styles ensure consistency and make global changes much easier.
- Communicate Early: Talk to your printer about their preferred file formats and PDF standards.
The Final Check: Verifying Your PDF Before Sending to Print
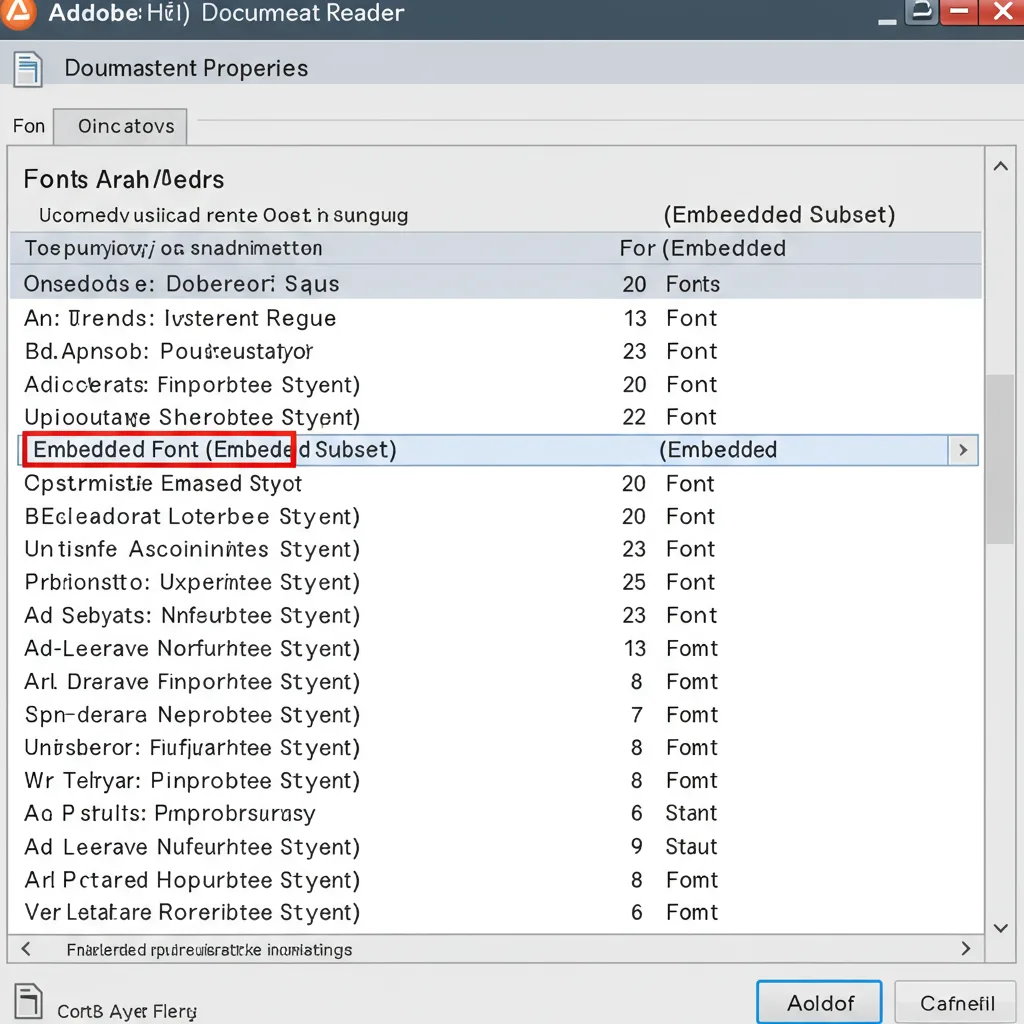
One last look before you submit your file:
Your Essential Pre-Submission Font Checklist
- [ ] Font Embedding Status: Open PDF in Adobe Reader/Acrobat -> File > Properties > Fonts. Confirm ALL fonts list (Embedded Subset) or (Embedded). This check verifies the actual data within the file, not just what your screen shows. It is the single most important verification step.
- [ ] Visual Scan: Quickly check all pages for squares, wrong characters, or substitutions, especially headings, page numbers, special symbols.
- [ ] PDF Standard: Ensure you exported using the required preset (e.g., PDF/X-1a).
- [ ] (Optional) Preflight: Use Acrobat Pro’s Preflight tool (check PDF/X compliance) for added assurance.
Understanding Printer Feedback & Communicating Effectively
Printers need technically sound files for smooth production. If they flag an issue you can’t resolve, help them help you by providing: the PDF, source file details (software/version), exact font names, page numbers with issues, and a description of the error.
Why are printers (including us at Mainland Printing) so particular about fonts? It boils down to efficiency and robust Quality Control in Book Printing processes.
Deeper Understandings for Better Results
Go beyond the basics for truly robust font handling:
- Why “Screen OK ≠ Print OK” & The Danger of POD “Auto-Fixes”: Remember, your screen preview isn’t the final word. Always verify the PDF’s internal font embedding status. Crucially, resist the temptation to rely on POD platforms like KDP automatically “fixing” font embedding errors, a key consideration when weighing Offset vs POD Printing.This process lacks transparency and can introduce subtle but significant changes to fonts and text layout (potentially causing lines to reflow or characters to shift), compromising your intended design and quality control. Aim to submit a file that needs no intervention.
- The True Cost: Font as Investment: Troubleshooting font problems related to licensing issues or poor quality consumes valuable author/publisher time – time that could be spent on writing, marketing, or design. Investing modest amounts in well-made, properly licensed fonts designed for professional printing often saves significant hidden costs (time, stress, potential reprints) down the line.Think of it as investing in the professionalism and smooth production of your book. Proactive font management isn’t a chore; it’s an efficiency tactic.
Conclusion: Take Control of Your Fonts, Print with Confidence
Key Takeaways Summarized
Mastering print fonts boils down to these core actions for effective font issue troubleshooting:
- Check licenses before use.
- Use correct PDF/X export settings, ensuring embedding.
- Verify font status in the final PDF properties.
- Choose quality, suitable fonts (consider TTF stability).
- Prevent issues through good workflow habits.
With these strategies, you can approach font management with confidence, ensuring your books look professional and print smoothly. When your files are ready, Mainland Printing is here to provide high-quality printing services. Reach out for your project quote today and let’s print your next book!


